A golf simulator enclosure is more than just a frame and netting—it's the foundation of your home golf experience. The right enclosure creates a safe practice environment, contains errant shots, provides an immersive playing atmosphere, and can even enhance the visual quality of your simulator. Whether you're converting a garage, finishing a basement, or building a dedicated golf room, choosing the right enclosure is crucial to maximizing your investment.
This comprehensive guide will walk you through everything you need to know to select the perfect golf simulator enclosure for your space, budget, and goals.
Golf simulator enclosures come in several configurations, each designed for different spaces and use cases.
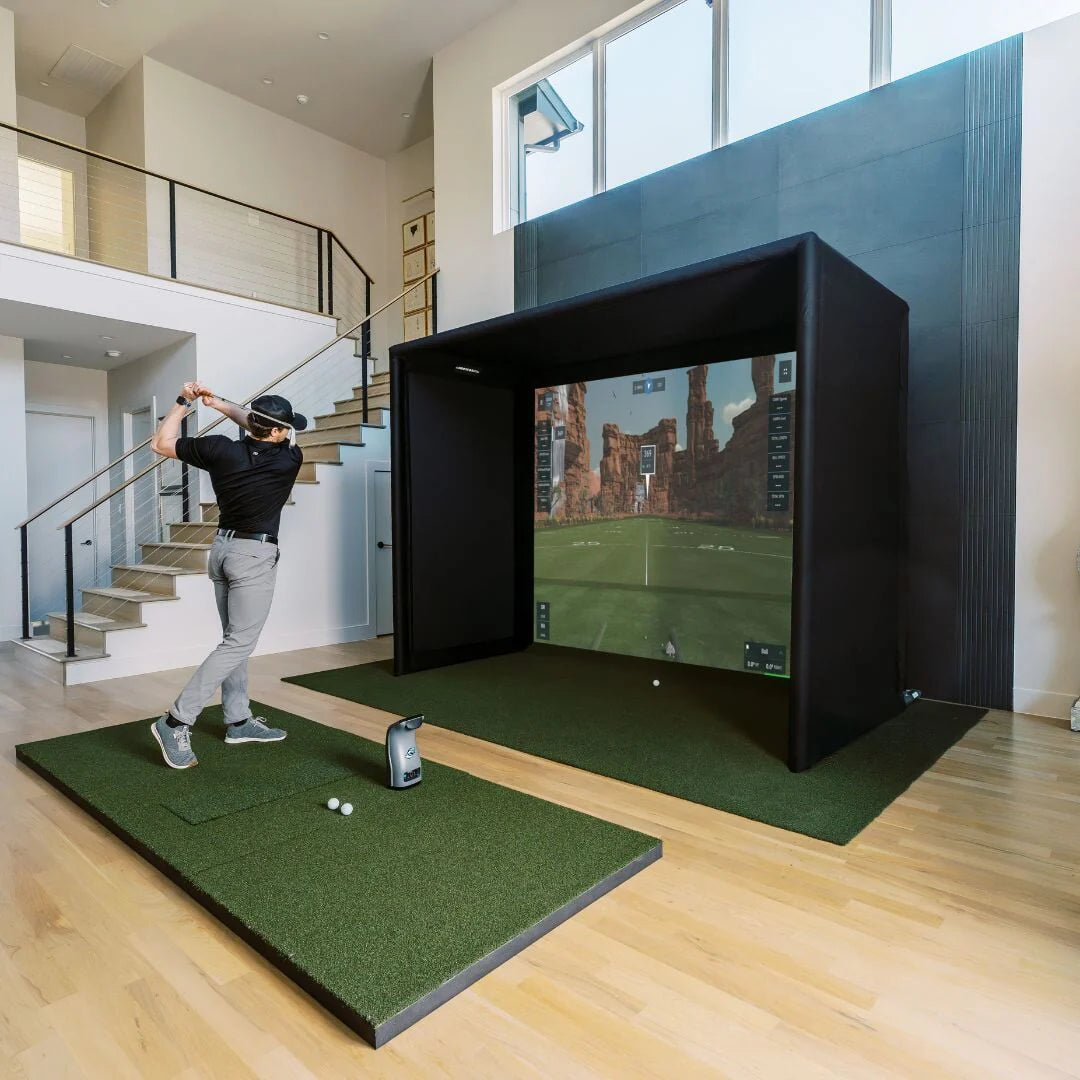
Full enclosures surround your hitting area on all sides, creating a complete room-within-a-room. They offer maximum safety and the most immersive experience.
Best for:
🏛️ Premium Full Enclosure Options:
DIY enclosures provide the frame and hardware, allowing you to customize the setup to your exact specifications. They offer flexibility and can be more budget-friendly.
Advantages:
🔧 DIY Solutions:
Build your custom enclosure with:
Commercial enclosures are built for heavy use, featuring reinforced construction, premium materials, and enhanced durability. While more expensive, they're ideal for serious golfers or shared spaces.
Key features:
🏆 Commercial-Grade Options:
Proper sizing is critical for both safety and playability. Here's what you need to consider:
Before ordering an enclosure:
Pro tip: Add 6-12 inches to your minimum measurements for comfort and safety margins.
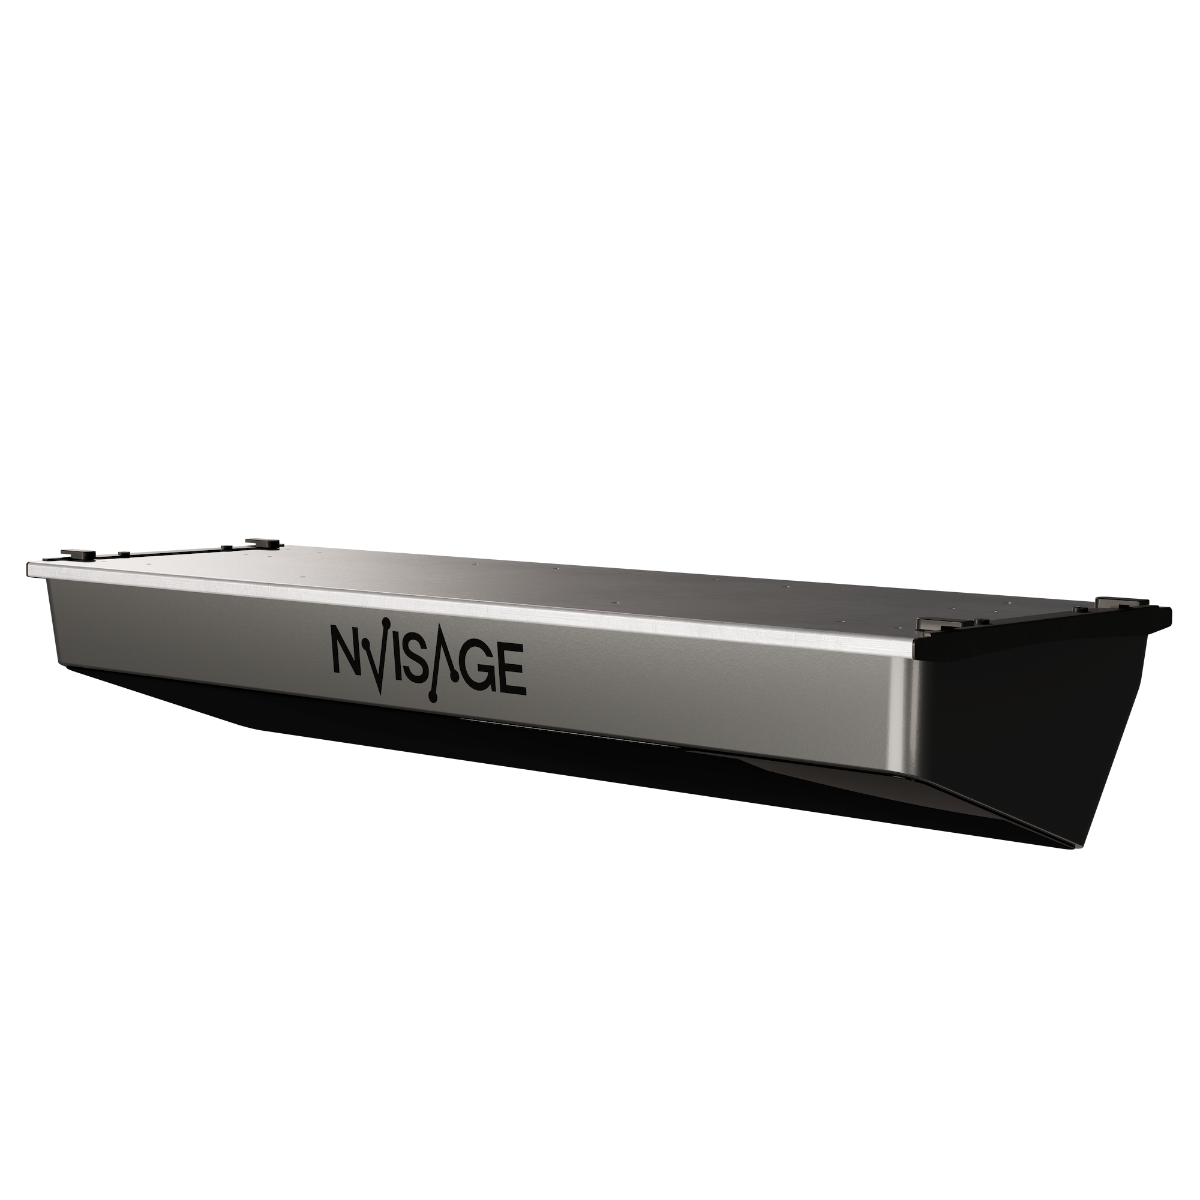
The impact screen is where your ball strikes and where the image is projected. Quality matters significantly here.
Look for screens that offer:
🎯 Premium Impact Screens:
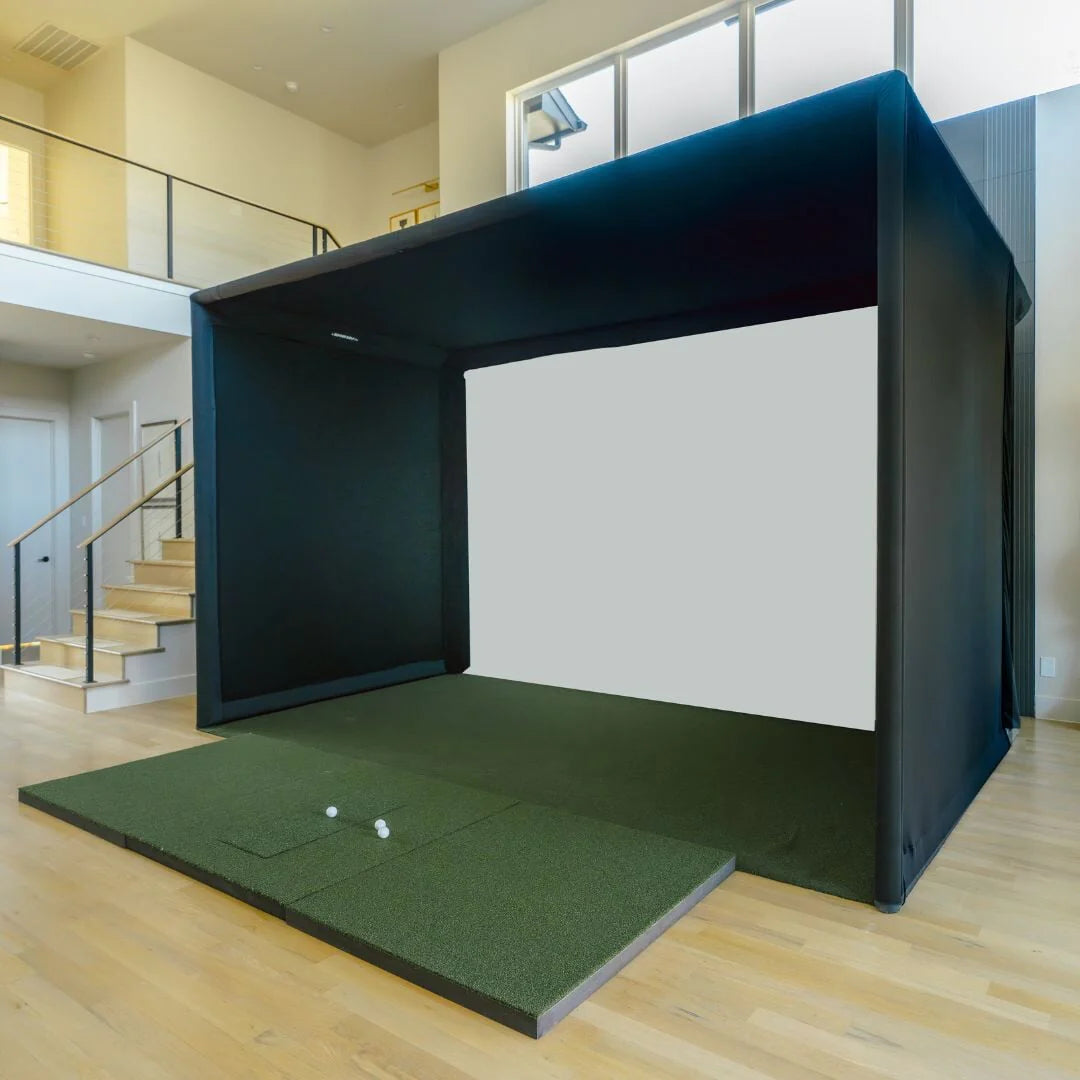
Retractable screens offer flexibility for multi-use spaces, while fixed screens provide the most stable hitting surface.
Consider the G-Trak Retractable Impact Screen if you need to reclaim your space when not practicing.
The frame supports everything and must be sturdy enough to handle repeated ball impacts.
Recommendation: For permanent installations with daily use, invest in steel pipe construction. For occasional use or temporary setups, PVC or EMT can work well.
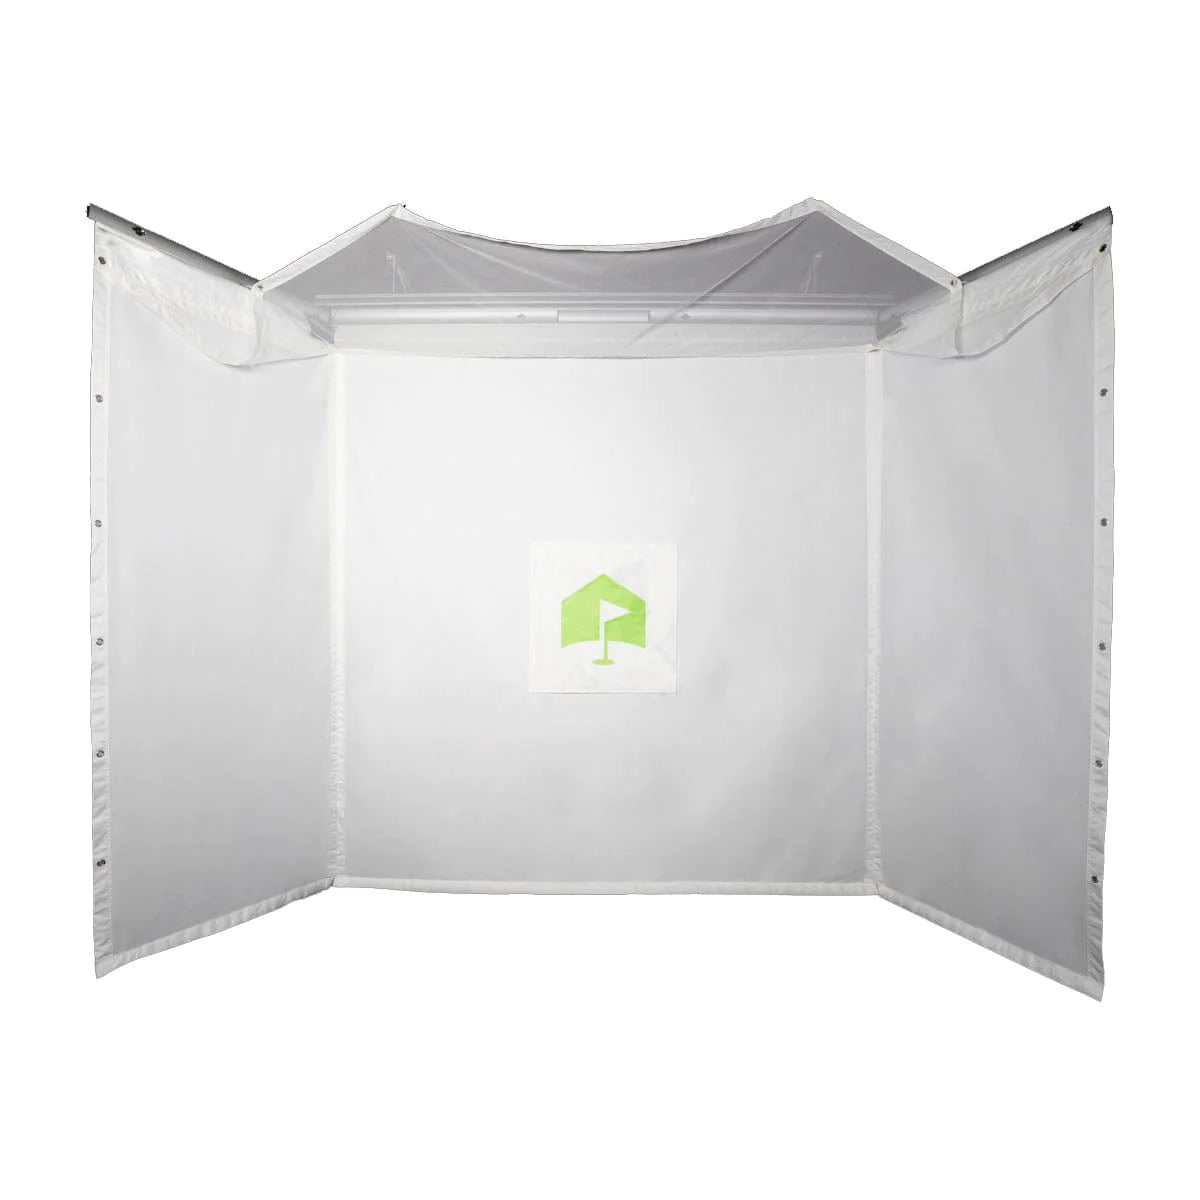
Side and ceiling netting contains mishits and creates the enclosed environment.
Quality netting should be:
Professional installation is recommended if:
DIY installation works well if:
Enclosure costs vary widely based on size, materials, and features:
Remember to budget for:
Proper lighting is crucial for both playing and image quality. Consider enclosures with integrated lighting mounts or plan for overhead LED strips.
Golf ball impacts can be loud. Look for enclosures that accommodate acoustic panels or sound-dampening materials, especially important for shared living spaces.
Enclosed spaces can get warm during practice sessions. Ensure your enclosure design allows for air circulation or plan to add fans.
Your enclosure will be a prominent feature in your space. Consider options that match your home's style or can be customized with colors and finishes.
🎮 Complete Simulator Packages:
Want everything in one package? Check out our complete simulator studios that include enclosures, screens, and more:
To choose the right enclosure, answer these key questions:
Browse our complete selection of golf simulator enclosures, from DIY kits to commercial-grade systems. Our team can help you select the perfect enclosure for your space and budget.
Choosing the right golf simulator enclosure is a critical decision that affects safety, playability, and your overall simulator experience. By carefully considering your space, usage patterns, and budget, you can select an enclosure that will serve you well for years to come.
Whether you opt for a DIY build, a mid-range residential system, or a commercial-grade enclosure, investing in quality components will pay dividends in durability, safety, and enjoyment. Take your time, measure carefully, and don't hesitate to reach out for expert guidance.
Have questions about which enclosure is right for your space? Contact our team for personalized recommendations and expert advice on building your perfect home golf simulator.